
A Beginner's Guide to Bikepacking
Planning for your first adventure. What I think about when I think about bikepacking
First steps
Bikepacking is an exhilarating outdoor activity that opens up new horizons and emotions. Just like the thrill of cycling, if you're into bikepacking, you'll understand the fascination, but if you're not, you might wonder what all the hype is about. There are countless reasons to love cycling, and bikepacking is undeniably among the top 10. At ANTHM, we're fortunate to have a community of enthusiasts with the resources and time for bikepacking adventures. We acknowledge that for first-timers, embarking on a bikepacking journey can seem daunting. It involves a substantial amount of research and preparation, which can make your first bikepacking trip feel overwhelming, almost to the point of giving up. However, we're determined to prevent that from happening. The ANTHM Collective's mission is to encourage adventurous experiences safely on a bike in the wild. By sharing my experiences and processes, I hope to ignite your desire to plan your first overnight bikepacking adventure.
To access our planner tool, click here. This planner is the same tool Brian uses to pack and plan his trips. He's done a lot of bikepacking and written a lot about it. Check out some of his stories on the blog, it's good inspiration for taking the leap and planning a trip.
After my initial adventures, I realized the need for better organization. Frustration from forgetting small, replaceable items like chapstick led me to create a simple bikepacking checklist. Over time, I divided this checklist into categories, such as sleep, food, electronics, and repairs, mirroring how items were packed on my bike. This prevented me from leaving essential items behind and made finding things more straightforward at the moment (ever had to hunt for toilet paper in a hurry?). As I continued bikepacking, I noticed that the core of my setup remained fairly consistent. This realization inspired me to develop a comprehensive bikepacking checklist as a template for each trip, which I would fine-tune as needed.

The Bike Choice
What do I ride when I go out for a few nights? What do I bring and how do I prioritize packing?
Gravel Bike: Breadwinner B-road with 650b wheels and a Generator Hub. I select this when there is significant road mileage, minimal technical riding, and I can get away with a sub-45 mm tire. Full frame bag, two feed bags, gas tank(s), and a saddleback usually get me through. I can add to this by mounting a shelter on my bars and additional capacity on fork-mounted bags.
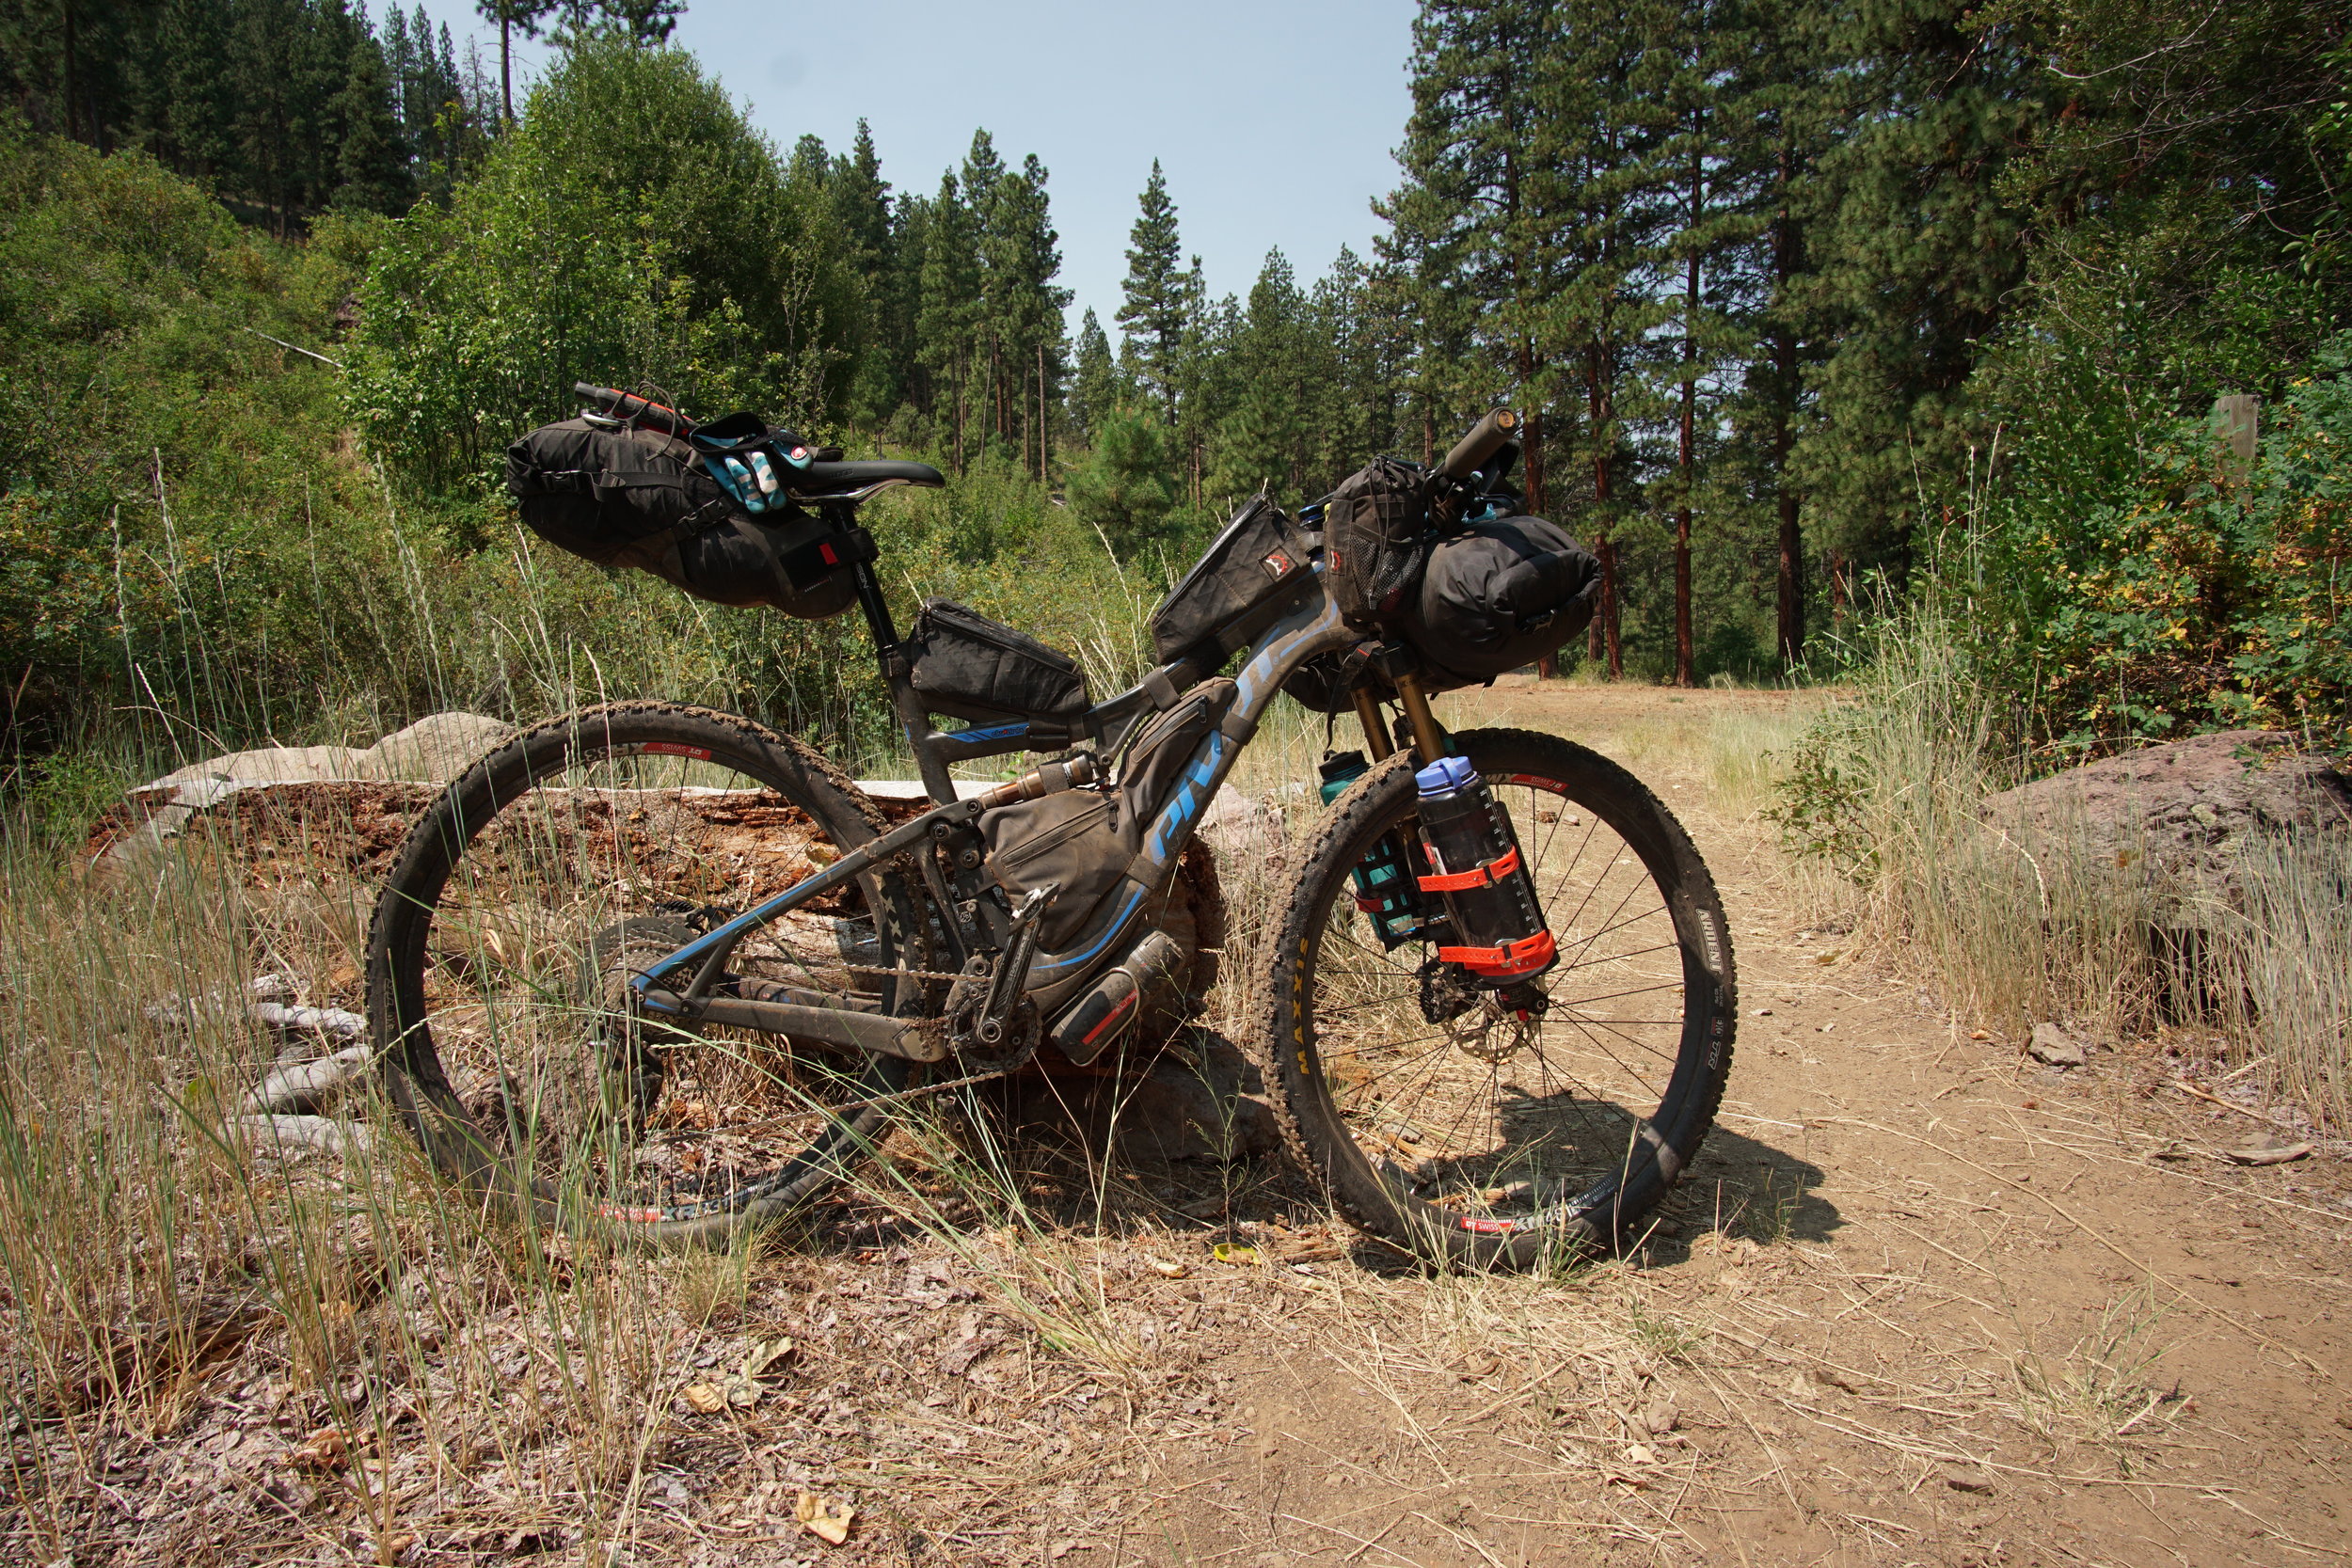
Hard Tail: Pivot Les. It’s not ideal (XC race bike), but it may be my favorite. There’s so much carrying capacity, fewer complications than the full suspension, and more capable than the gravel bike. I don’t have a full frame bag yet, so I often rely on a large saddle pack (still use a dropper though), bar bag, feed bags, gas tanks, and fork-mounted cages.
Full Suspension: Kona Hei Hei: This makes me happy because it usually means I’m doing something cool. A custom frame bag is a game changer. Larger saddle bag, feed bags, gas tank(s), and directly mounted shelter on the bars.
Repair kit: Your repair kit needs to be more robust than your daily riding kit. Yes, of course, you still need to be able to fix flats, but for most of my day rides, I don’t carry too much more than that. Bikepacking, the kit gets comprehensive. Think sidewall repair, broken spokes, derailleur hangers, shifter cables, etc. Additionally, extra cleats, cleat bolts, and oddball bolts are needed for critical components that could be broken while in the field. Additional sealant, of course. Most importantly, I learned how to fix most things with minimal equipment.
Clothing: Good bibs. Spend the money, and do yourself a favor. My general rule for clothes is to wear what you’re familiar with and comfortable with. Don’t buy new socks, baggies, or a different style shirt, and then take it on a trip. It’s a terrible way to learn something doesn’t work for you, or worse, that you have an allergy, irritation, or discomfort.
What works for me is to look like a human. Over shorts and a T-shirt (wool) or a synthetic shirt that snaps up the front and has a collar are ideal. I prefer not wearing just bibs and jerseys while bikepacking because it changes the way people interact with me. For whatever reason, you’re more approachable and met with more kindness, the less you look like a cyclist.
Key pieces of kit for me… a sun protective buff, photochromatic glasses, a cycling cap under the helmet (great for dipping in streams and to keep the morning and evening sun out of the eyes), a cotton handkerchief, emergency WP shell, emergency insulated jacket, sleeping socks/underwear/tee.
Camping: My first overnighter was a two-day recon of the High Cascades 100 route. I brought a hammock. I still have it somewhere, but it’s not been used since then. My shelter setup has had many incarnations. Currently, I’m using a 1P free-standing tent. It’s not as light as I would like, but it’s very good protection in 3 seasons, works on the bike well, and allows me to erect it in areas where stakes won’t/can’t work. I miss my Ultralite 1p from Z-packs. But the footprint was large, and it relied on staking it well. If I end up sleeping on a cement pad, gravel driveway, or whatever, it won’t work well.

Bikepacking is equal parts organization and Snacks
Cooking/Food: Remember when we thought Jetboils were light and small? Remember whisperlights? I use an MSR pocket rocket two and a fuel canister with a small Ti cookpot and a plastic cup. I wish the canister could nestle in, but I can put the stove and lighter in the cup, the cup in the Ti pot, and the canister goes elsewhere. I recently picked up a Vargo pot with some notions of changing things up. Maybe a little cold soaking even.
For food, it does depend on how long I’ll be out. I’m happy to have a couple of vegan instant meals and pre-measured breakfasts if the trip is short. If it gets longer and I’m relying on re-supplying at gas stations…it gets tricky. As someone following a plant-based diet, I struggle to find enough calories—lots of bars, trail mix, and snack food. But Ramen with crushed Fritos (very high calories to weight plus lots of salt), Tortillas with Nutella, and Instant Oats are good options. I always carry Coava instant coffee… you're welcome.
Electronics/Connectivity: This one gets really complicated. Early on, I badly wanted to document and take really high-quality pictures. I still want that, but I’ve decided I’m not a great photographer no matter what camera I have, so I rock the iPhone. The devices I carry are:
Iphone | Garmin Fenix 6X Pro | Garmin InReach Mini | Bluetooth earbuds
The two big concerns are emergency communication and navigation. It’s hard to beat the Garmin Fenix line if you're recording and navigating all day. Yes, it’s an annoying watch, but the battery life is ridiculous, the screen is good (if small), and it’s a very powerful tool if you need to navigate off-route. The InReach is crucial if you’re sharing your track with loved ones, need an SOS, or will be out of cell range and want 2-way texting.
The phone used to be unreliable. I still don’t 100% trust it, especially in hot and cold conditions, but it has become an incredibly useful tool in many ways. I don’t use it to navigate while on the bike because it tends to bake in the sun, but I do reference it through the day and use it at night to plan the next day.
Bluetooth earbuds and not cords? Yeah, cords are annoying AF, and my phone is usually packed away, but I could make a case for one less battery to charge too. It’s just preference.
You’ll need a cache battery. My best recommendation is to practice. Learn the number of hours you get from your devices while tracking, listening to podcasts, navigating a route etc, and then think through how often you can get a charge somewhere. This will inform how much capacity you need from a cache battery. There are some great optios out there.
I won’t go into the generator hub here. It’s a huge and complicated topic; you should consult an expert. But I’m happy to share what I do if you reach out.

Bikepacking Route Planning
An under appreciated artform
Route Planning: The short answer is this, unless you REALLY love planning routes and are really into maps, as a beginner to bikepacking, don’t bother. There are literally a TON of pre-established routes with incredible beta and GPX files you can download. Get a few of these under your belt, and then start to play around with variations. There are no bonus points for doing it all yourself, so why not eliminate a few variables that can derail a trip? I find that people who build routes are some of the most interesting, welcoming people around. Bikepacking.com has all you could ever ride and more.
My process usually starts with time and travel to the ride. How much time do I have, and how far am I willing to go?
From there, I think about what bike/terrain I want to be on. Sometimes I’m just in the mood for long gravel roads. Other times I want to shoulder my full suspension up some gnarly pass.
Then I zero in on some routes that have inspired me, and I’ve always been curious about. I don’t plan my routes anymore. I just don’t have the time. But one thing I do, is carefully familiarize myself with what’s AROUND the route. You can’t just stare a line on your Garmin and expect you can get yourself out of a situation. You need to plan bailout options and know where committing spots of your route might be. I have stories about this, probably too many.
For more motivation to get out and try bikepacking, check out this blog story from one of our adventures riding in Idaho. Read here